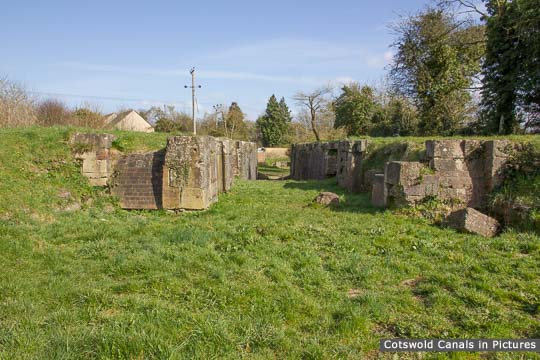
This lock is the second in a flight of four at Siddington.
This lock, in common with many others on the Thames & Severn, was shortened in an attempt to save water.
(Tap / click images to enlarge)

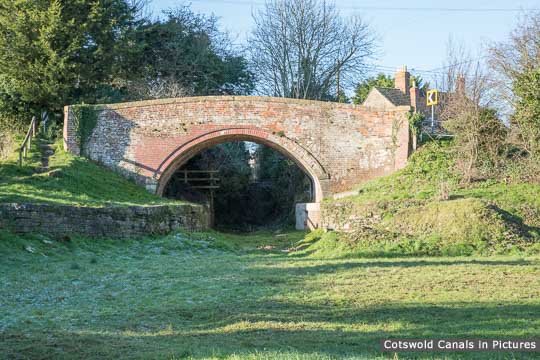
This lock is the second in a flight of four at Siddington.
This lock, in common with many others on the Thames & Severn, was shortened in an attempt to save water.
(Tap / click images to enlarge)


Canal: Thames & Severn
Restoration Phase: 3
Status: Unrestored
Access: Towpath
Updated: 18/08/2022